Wednesday, April 29, 2015

Foam Dot Bracelets

This is a really simple project I came up with when looking for a use for leftover scraps of craft foam. I love finding ways to use up bits of materials that would otherwise just get tossed out, since I think it's important to be mindful of the amount of waste our creative projects can generate. I also really enjoy this project because the technique is simple enough for quite young crafters, but the results are sophisticated enough for older ones too. 


Here's what you'll need to make this project. (You can substitute regular thread for the elastic kind, but then you'll either need a clasp to do up the bracelet, or else tie it on permanently.)


The first thing you'll need to do is punch out some dots from your scraps of craft foam using a hole punch.


Since the dots are very thin, you'll beed a lot of them. (I used aprox. between 110-130 dots for my bracelets, which fit around my own adult wrists.) 


Once you've got a good amount of dots, the next step is stringing them together. A large needle with a sharp point works best, since it will need to poke through the foam. (If you are making this project with young crafters and are concerned about safety, have an adult help string the dots onto the thread.)


I recommend using elastic thread so that the bracelet can easily be slipped on and off. I also made a bracelet with a jewellery clasp closure which works well, but is a little more finicky. Another option is to just tie the bracelet around the wrist like a friendship bracelet, but then there's no way to get it off.


I made a few variations of this basic design. I made ones in repeating patterns, some with different shades of a single colour, and some with added random beads. (Repeating patterns are a great way to practice counting and memory skills.)

 I think they look especially good when a bunch of them are worn together.


A fun and easy way to add a touch of flair to your look!

Friday, March 27, 2015

Cotton Ball Sheep

Spring is an extra special time of year, filled with the promise of warmer days and new life. It is a magical time when plants begin to push their first green shoots out of the ground and when many baby animals are born. One of the most delightful of these baby animals are lambs: 

A mother sheep with her baby lamb

Sheep are pretty fascinating creatures as you can see in this video of farmer Adam Henson learning about the behaviour of the sheep on his farm:


Although I likely won't be lucky enough to see any real sheep this spring, I thought it might be fun to make some of my own


Here's a list of the materials required for this project:


Because I have a dog, I've also got a constant supply of little cardboard tubes that are on the inside of the rolls of plastic bags I use for picking up his poop. These are really useful for craft projects, so if you can get your hands on them, they're worth saving.


If you don't have any of these tubes, you can make your own out of card stock or some other stiff paper. Cut a strip a couple of inches high and half the width of the sheet of paper. Wrap it around a pencil and add some glue so that it stays rolled up. You'll need four of these- one for each of the sheep's legs.


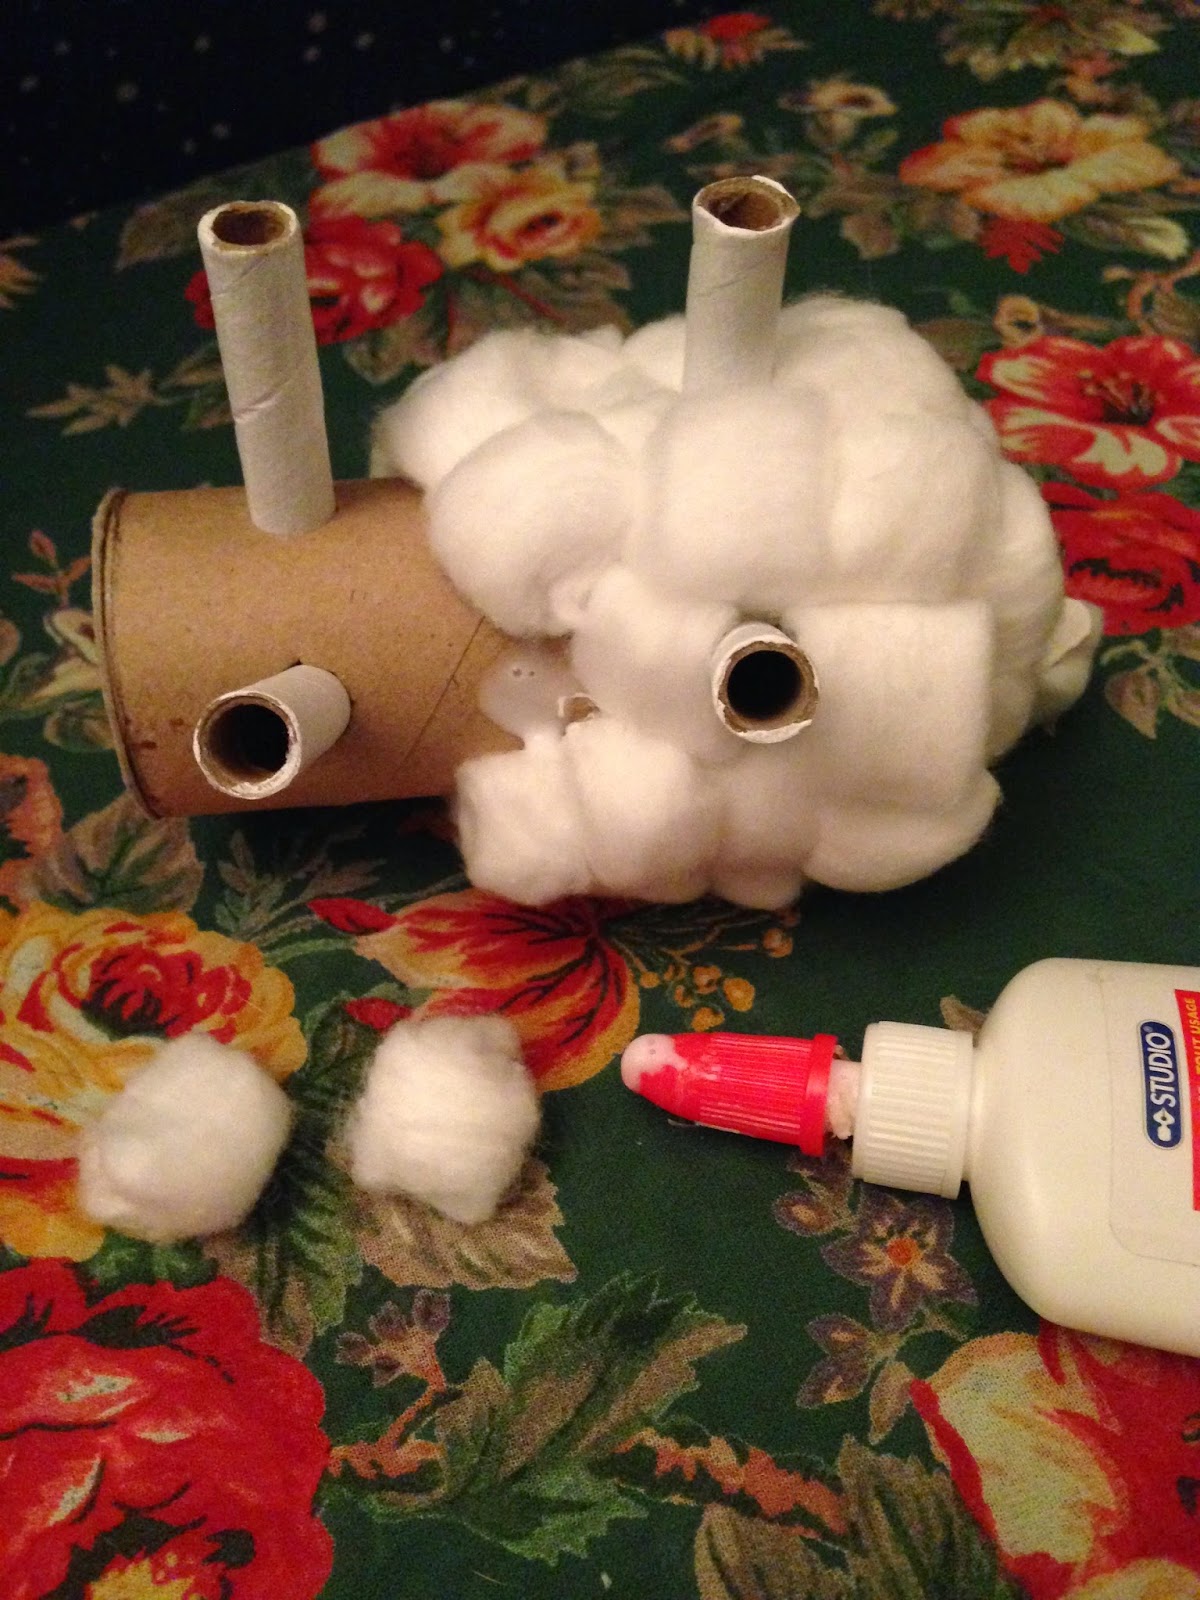
For the body of the sheep you'll need a toilet paper roll. Make four holes on what will be the underside of the sheep, two near the front and two near the back. Make some small cuts radiating out from the hole in a starburst pattern- this will allow the legs to fit in snugly. 


To finish off the sheep's body, trace around the edge of the roll to make two circles from the lid of an egg carton. Using some white glue, add these to the roll to make the sheep's chest and bum. 


The egg carton is also what I used to make the sheep's head. The rear part of the head is made from one cup, while the front part requires additional portions from the adjacent cups- these will become the sheep's ears.


Attach the two parts of the head using white glue. At this point, you can also paint the head and legs white.


To attach the sheep's head to its body, poke hole for a toothpick into the shoulder-area of the body and the base of the head.


The sheep also needs a tail! I cut one from a scrap of the egg carton lid and glued it to the top of the rear of the body.


Now it's time to add the sheep's fleece. Take some cotton balls and add them to the body with glue. I started at the back and worked my way to the front adding the balls in layers around the body to make sure I covered all the cardboard evenly.


Once the body is done, it's time to finish the sheep's head. Using markers, I drew on eyes, a nose, a mouth, and some detail inside the ears- pencils, crayons or paint could also be used to make these features.


Glue more cotton balls to the back of the head and then attach it to the body by fitting it onto the toothpick.


And there you have it! A lovely, fluffy springtime sheep:


Tuesday, March 10, 2015

Burrowing Animal Coffee Cup Puppets

A while ago, this charming video of an ermine popping in and out of a tree stump caught my attention:

Ermines are stoats in their winter coats

Inspired, I made a puppet version of the scenario.


The paper ermine pops up from its coffee cup tree trunk with the help of a wooden skewer. This got me thinking about other burrowing animals that would make good subjects for pop-up puppets. Next I tried a burrowing owl.

Burrowing owl in a desert landscape

Here's a video of the puppet in action:


I then decided to try making an animal well known for its burrowing prowess, the mole. 


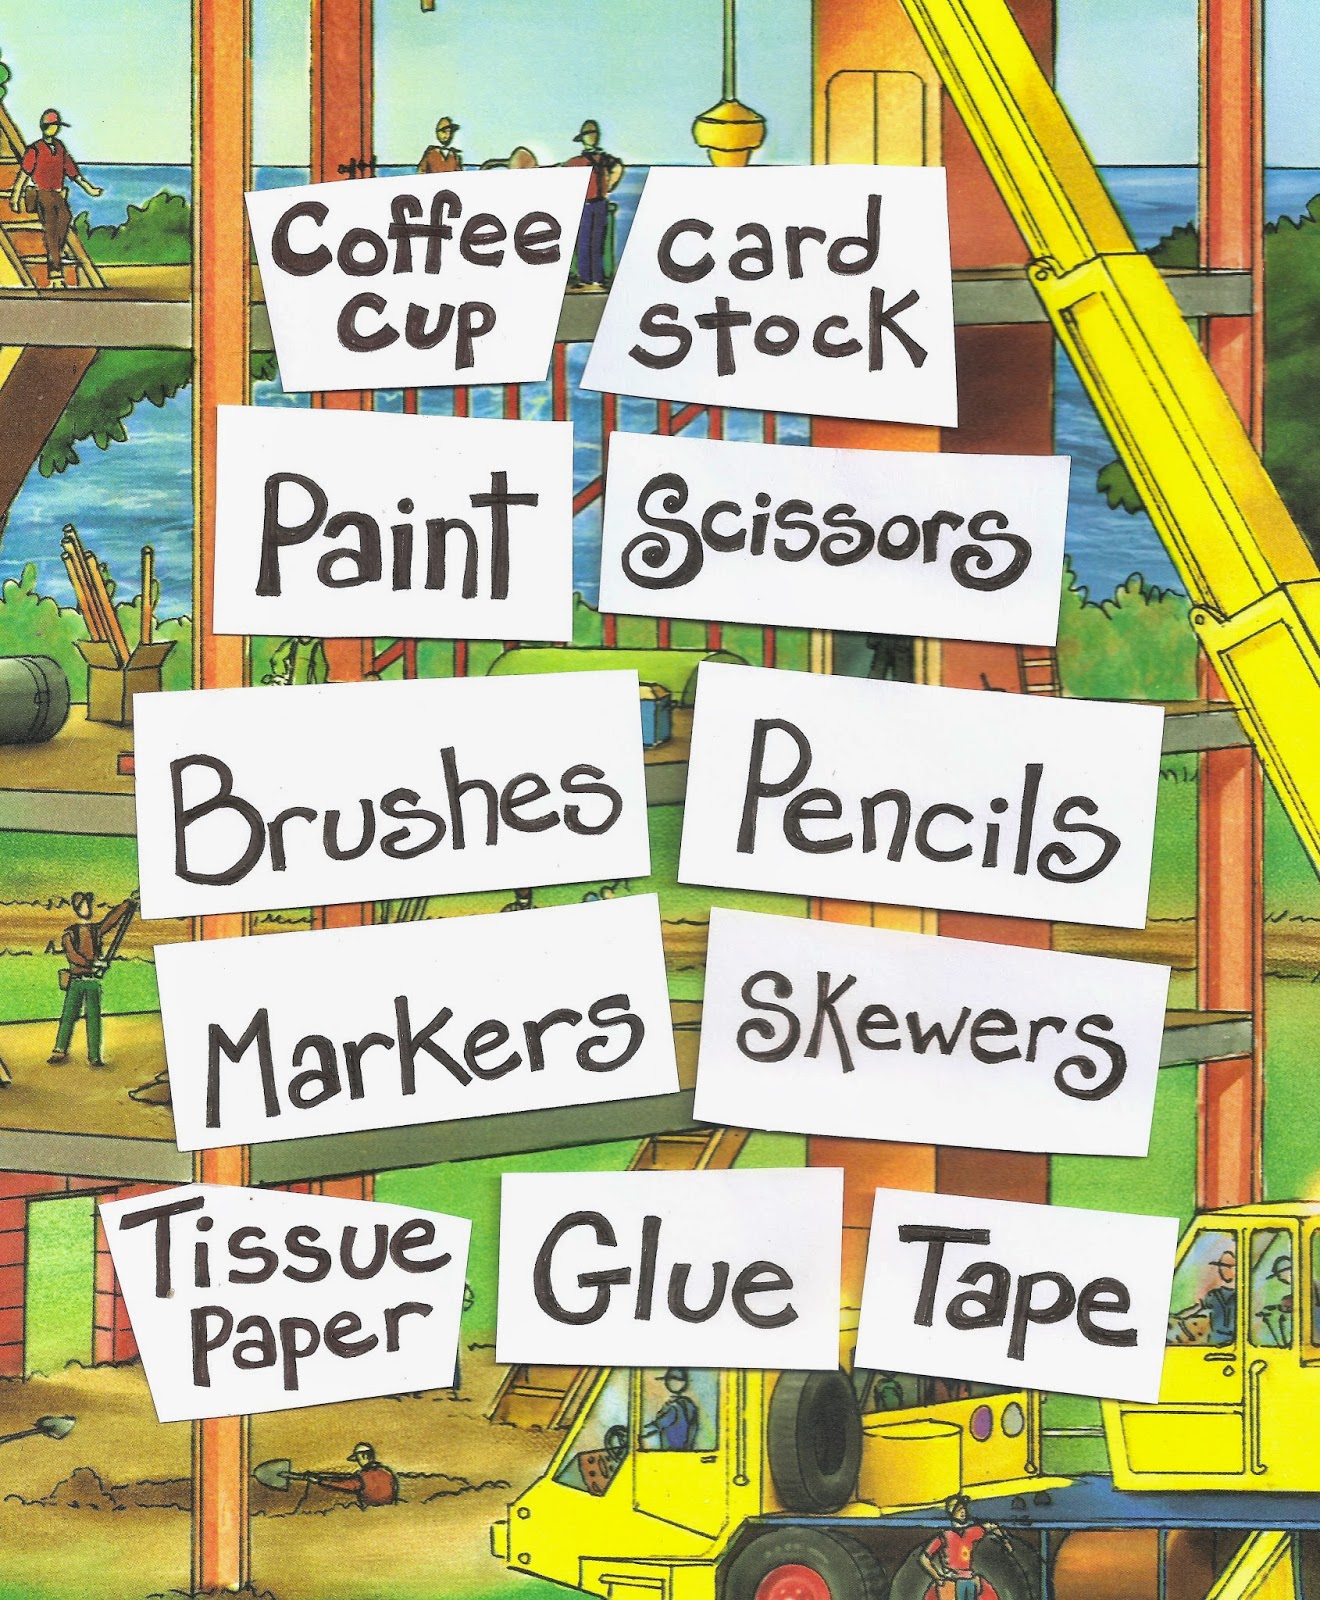
Here's a step-by-step description of the process. First, gather these materials:


It's best to start this project with the coffee cup burrow, since it will take time for the paint and glue to dry. To make your burrow look more like a landscape and less like a cup, add some texture by gluing on crumpled-up bits of tissue paper (for this burrow, I used paper towel, which works equally well).


When the glue is dry, add some colour. Try to match the colour of your burrow to the environment that the animal you've chosen lives in. For example, I chose tawny yellows for my owl's desert landscape, browns for my ermine's log and my mole's dirt home.


You can also add other features to your burrow at this point. For my ermine's log I added some moss I'd picked up from a local florist's shop and some cotton ball snow. As for the mole's burrow, I glued on some tufts of grass cut from a scrap of coloured paper.


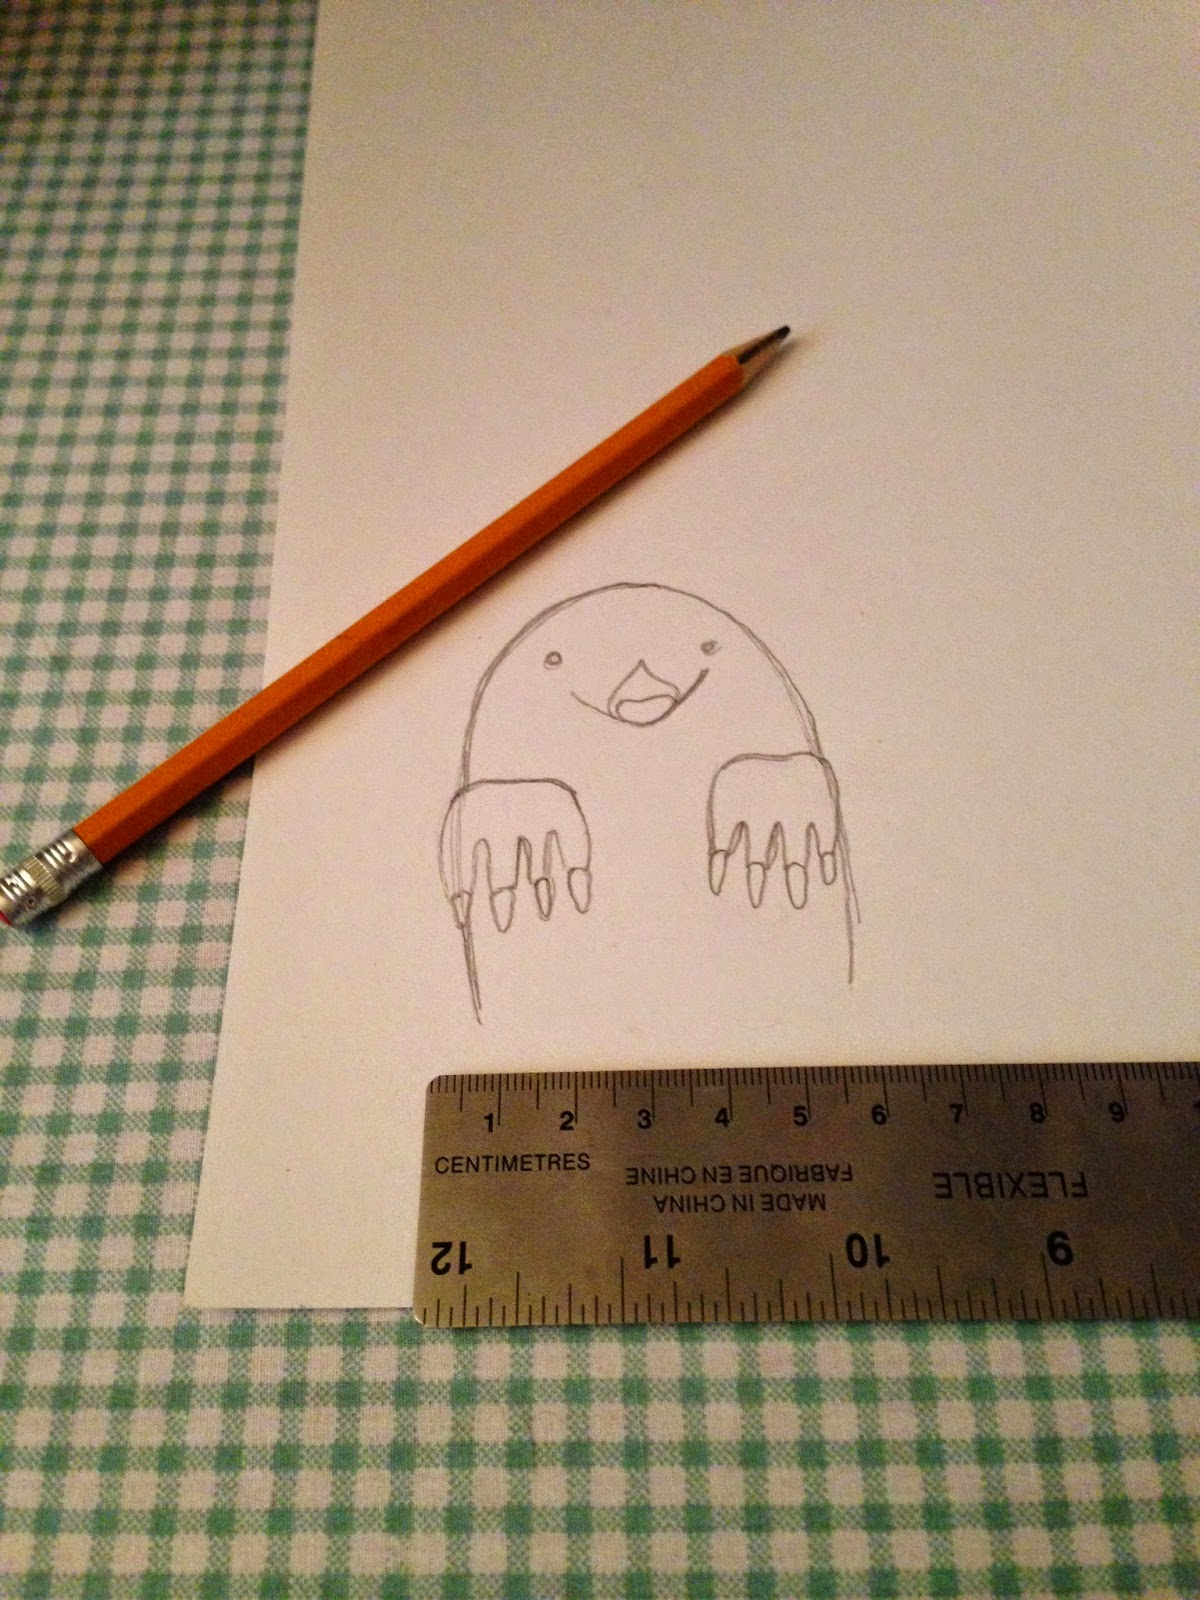
While your burrow is drying, you can get to work on the creature that will live inside. Take a piece of card stock or other thick paper on which to draw your animal. Measure your coffee cup- your animal needs to be no wider than the base of the cup and no taller than the height of the cup or else the animal won't fit properly in its burrow.


Colour in and cut out your animal. I used markers, but pencils or crayons would work equally well.


Now it's time to fit the animal into its home. Take your wooden skewer and poke it through the centre of the bottom of the cup (if the cup is too stiff for the skewer, use the tip of a sharp pair of scissors or a sewing needle to make a small hole).


The last thing you need to do is tape your animal to the top of the skewer.


Now mr. mole is ready to hide away at home


and pop out to say hello.


These three creatures are but a small sample of the many living things that could be subjects for this project. Here are some artists' illustrations of different types of subterranean animals, any of which would make great pop-up puppets.


Thursday, February 26, 2015

Hattifatteners in the plants

I am a devoted fan of Tove Jansson's Moomins. I first discovered the novels about Moonintroll and his friends and family when I was young, and my for their fantastically quirky world has only grown over the years. This past Christmas, I was lucky enough to receive both the Deluxe Anniversary Edition of the Moomin comic strips and this fetching mug- my new favourite receptacle for my morning coffee.


As a tribute to some of the strangest characters in the Moomin universe, I made these Hattifatteners from craft foam attached to wooden skewers and placed them in a potted plant where they have lived happily for several years.


To me, Hattifatteners have always seemed like a cross between a ghost and a stalk of white asparagus. Their simple shape makes them an easy subject for a creative project; these young folks have chosen to make giant Hattifatteners out of snow!


If you're a Moomin fan too, why not try your hand at making your own Hattifatteners!


Tuesday, February 24, 2015

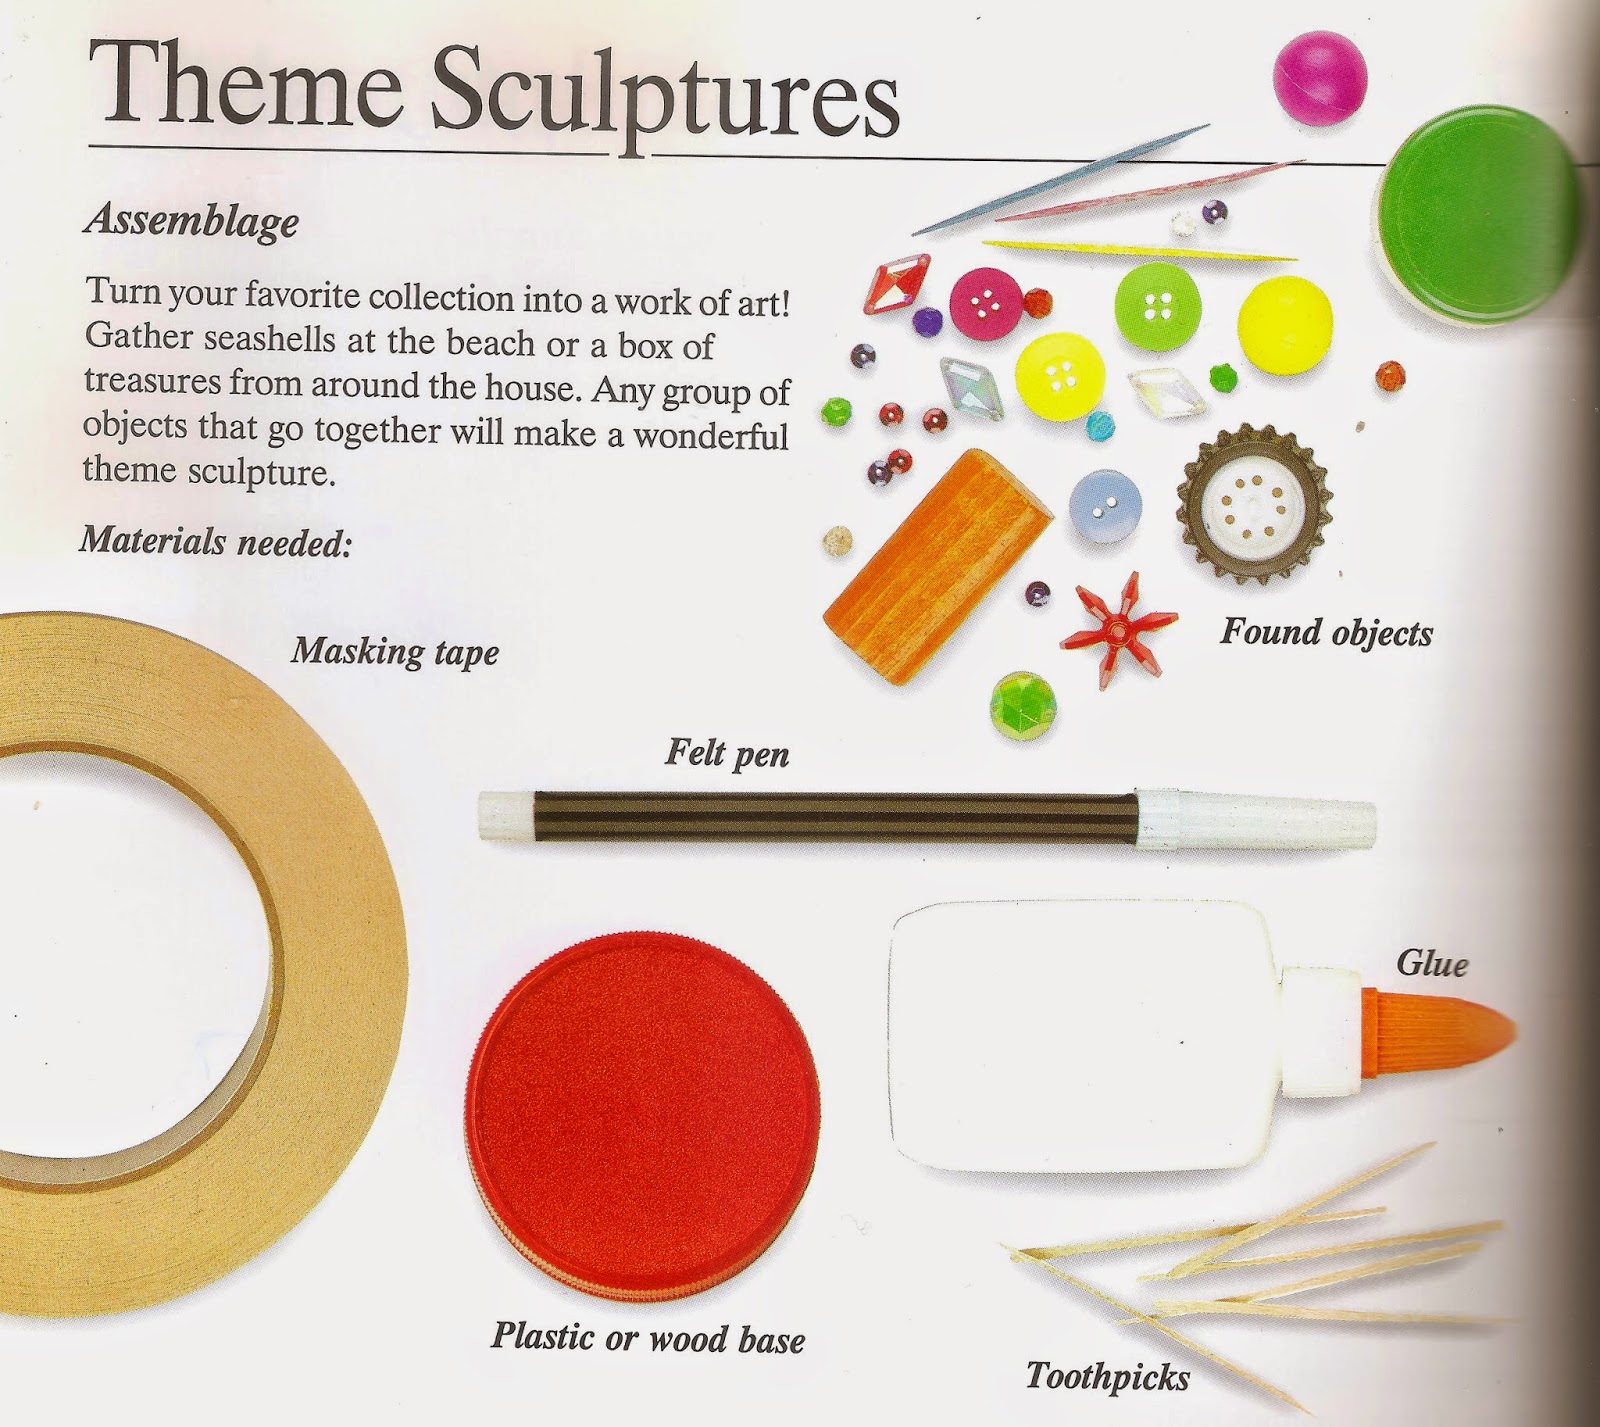
Arts and Crafts Book Review: Art Fun!

Whenever I make a trip to second hand shops, I always keep my eye out for arts and crafts books. One of my recent finds is a real gem: Art Fun! 


Put out by North Light Books in 1997, the projects contained in this book are still fresh and up to date. The projects are presented using clear and simple language with plenty of step-by-step illustrations so that a child can easily follow the instructions by themselves. Each chapter contains a variety of different projects related to a specific form of art such as drawing, painting, printmaking, and sculpture. At the start of each project, there are bold photographs showing all of the materials required so that you can make sure you've got everything on hand before you begin.


Each chapter begins with a note to parents to outlining the objectives and requirements related to that art form, as well as tips and suggestions for ways to enrich the child's creative explorations. There are clearly-marked helpful hints throughout that offer technical advice, as well as indications for when a project will need time to dry and when an adult should assist to ensure the project remains safe. One of my favourite things about this book is the simplicity of the projects. Most of them require very basic art supplies or things that that can be found around the house.


This book emphasizes creative experimentation and encourages young artists to bring their own unique ideas to their artworks. Although I believe this book is now out of print, a quick search shows that there are plenty of used copies available for sale online. Art Fun! would make a great addition to any collection of arts and crafts books; I highly recommend it!

Sunday, February 22, 2015

Cut-Out Paper Pictures


I love the different ways collage can be used to make pictures. Cutting out paper is so fun and versatile, and it's a great way to explore elements of art such as colour, pattern, texture, shape, and space.


This project doesn't really call for a lot of materials. Here's what you'll need:


A good way to start this project is by doing a drawing of what your picture will look like.


Next, cut out the pieces of your drawing so that each different section is a separate piece.


Trace each piece onto the paper you'd like to use and cut it out.


Once you have all the pieces, put them together to form the picture. This part is like doing a puzzle.


When you've figured out where the pieces belong, glue them onto a background piece of paper.


Add whatever details you like from scraps of paper, or draw them on with a marker.


(Tip: I made the eyes and buttons with a hole punch, since cutting out little circles can be a bit of a challenge.)


Now your picture looks like your original drawing, but with a lot more colour and pattern!


There are lots of different kinds of paper you can use for a cut-out picture. Art stores sell many fancy papers for scrapbooking, origami, and whatnot, but there are a lot of good sources of colourful patterned papers that can be found around the house as well. Of course magazines are a constant source for collage material and it's a good idea to always have a few on hand. But this is not the only place to find cool stuff to cut up. One thing I like to do is save empty tissue boxes. I fold them flat and store them in a box so that I always have a range of different patterns on hand.

A somewhat unexpected place to find interesting patterns is on the inside of certain types of envelopes. Bills and other kids of mail that the sender wants to keep secure often come in envelopes that have a plastic window for the address and intricate repeating patterns on their insides. Before throwing out my old mail, I always check to see if there might be a pattern hiding in there that I could save and reuse.


But probably the best source for pretty paper is the wrapping from presents. It's like getting an extra craft-supply bonus with every gift!


And if you don't have the type of paper you'd like on hand, there are other ways to make your own. I covered sheets of plain white paper with crayons and paint to make these little cut-out chaps.


Henri Matisse was one of the first artists to use this technique. These works are famous for their bold colours and striking shapes. Some of Matisse's cut outs are very abstract, while others contain more recognizable images of plants, animals, or people.

The Horse, the Rider and the Clown

The Sheaf

The Snail

While making pictures with the usual gang of pencils, markers, crayons, and paint is fantastic, they're not the only tools at your disposal. Why not give scissors and glue a chance to show off what they can do?