Spring is an extra special time of year, filled with the promise of warmer days and new life. It is a magical time when plants begin to push their first green shoots out of the ground and when many baby animals are born. One of the most delightful of these baby animals are lambs:

A mother sheep with her baby lamb
Sheep are pretty fascinating creatures as you can see in this video of farmer Adam Henson learning about the behaviour of the sheep on his farm:
Although I likely won't be lucky enough to see any real sheep this spring, I thought it might be fun to make some of my own

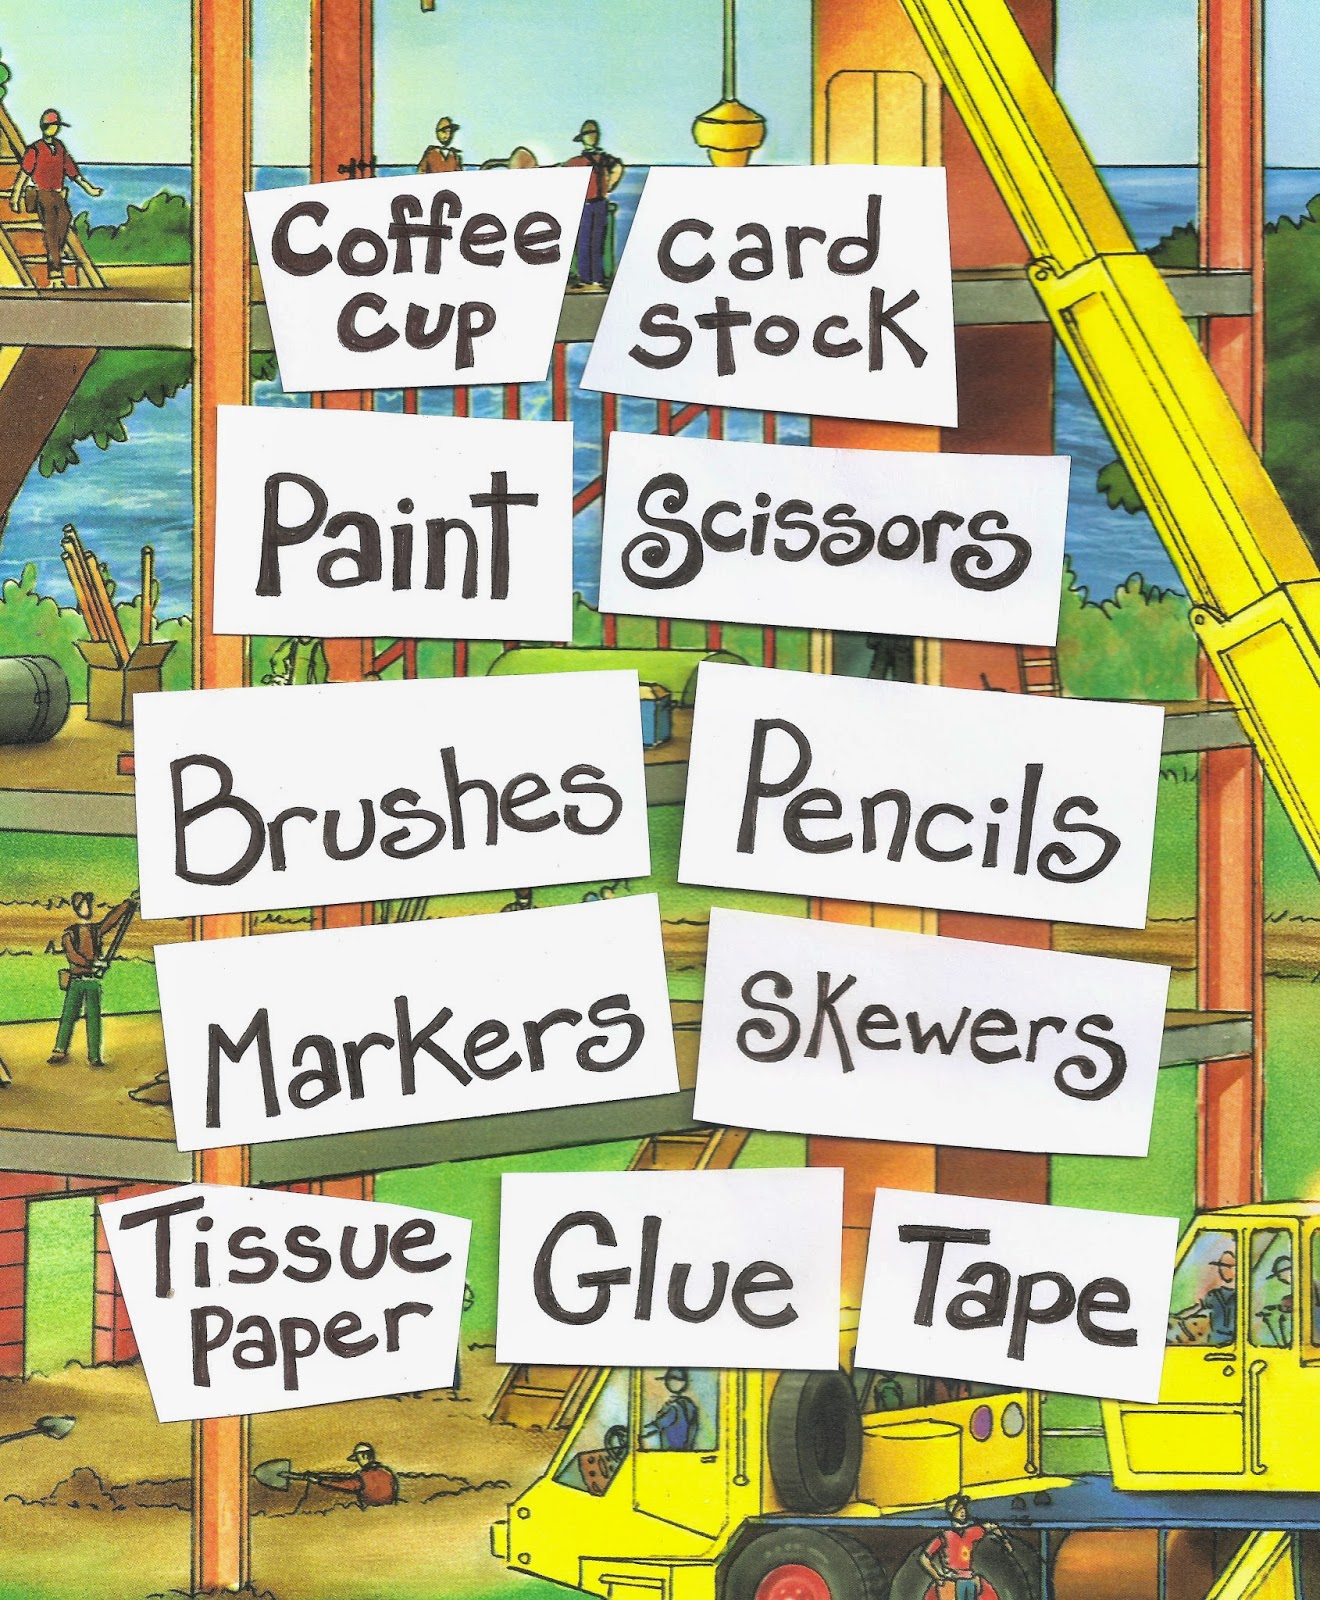
Here's a list of the materials required for this project:

Because I have a dog, I've also got a constant supply of little cardboard tubes that are on the inside of the rolls of plastic bags I use for picking up his poop. These are really useful for craft projects, so if you can get your hands on them, they're worth saving.

If you don't have any of these tubes, you can make your own out of card stock or some other stiff paper. Cut a strip a couple of inches high and half the width of the sheet of paper. Wrap it around a pencil and add some glue so that it stays rolled up. You'll need four of these- one for each of the sheep's legs.

For the body of the sheep you'll need a toilet paper roll. Make four holes on what will be the underside of the sheep, two near the front and two near the back. Make some small cuts radiating out from the hole in a starburst pattern- this will allow the legs to fit in snugly.

To finish off the sheep's body, trace around the edge of the roll to make two circles from the lid of an egg carton. Using some white glue, add these to the roll to make the sheep's chest and bum.


The egg carton is also what I used to make the sheep's head. The rear part of the head is made from one cup, while the front part requires additional portions from the adjacent cups- these will become the sheep's ears.

Attach the two parts of the head using white glue. At this point, you can also paint the head and legs white.

To attach the sheep's head to its body, poke hole for a toothpick into the shoulder-area of the body and the base of the head.

The sheep also needs a tail! I cut one from a scrap of the egg carton lid and glued it to the top of the rear of the body.

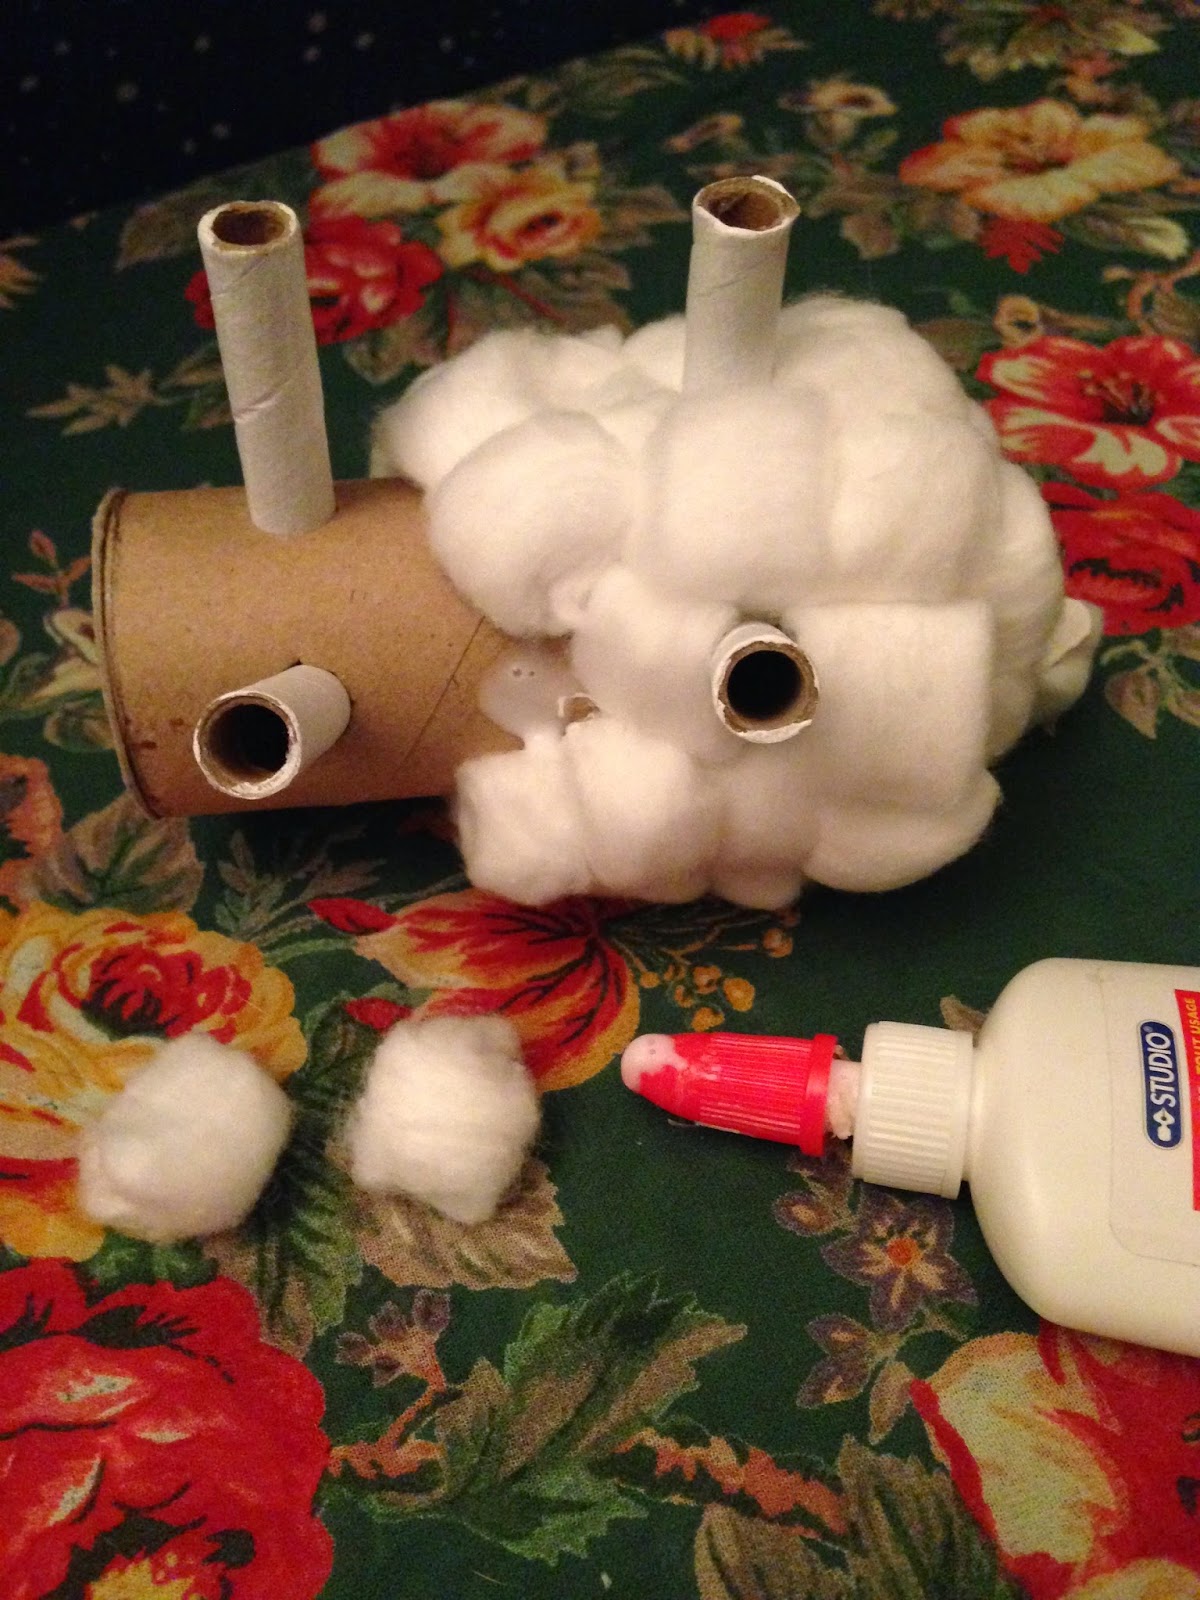
Now it's time to add the sheep's fleece. Take some cotton balls and add them to the body with glue. I started at the back and worked my way to the front adding the balls in layers around the body to make sure I covered all the cardboard evenly.


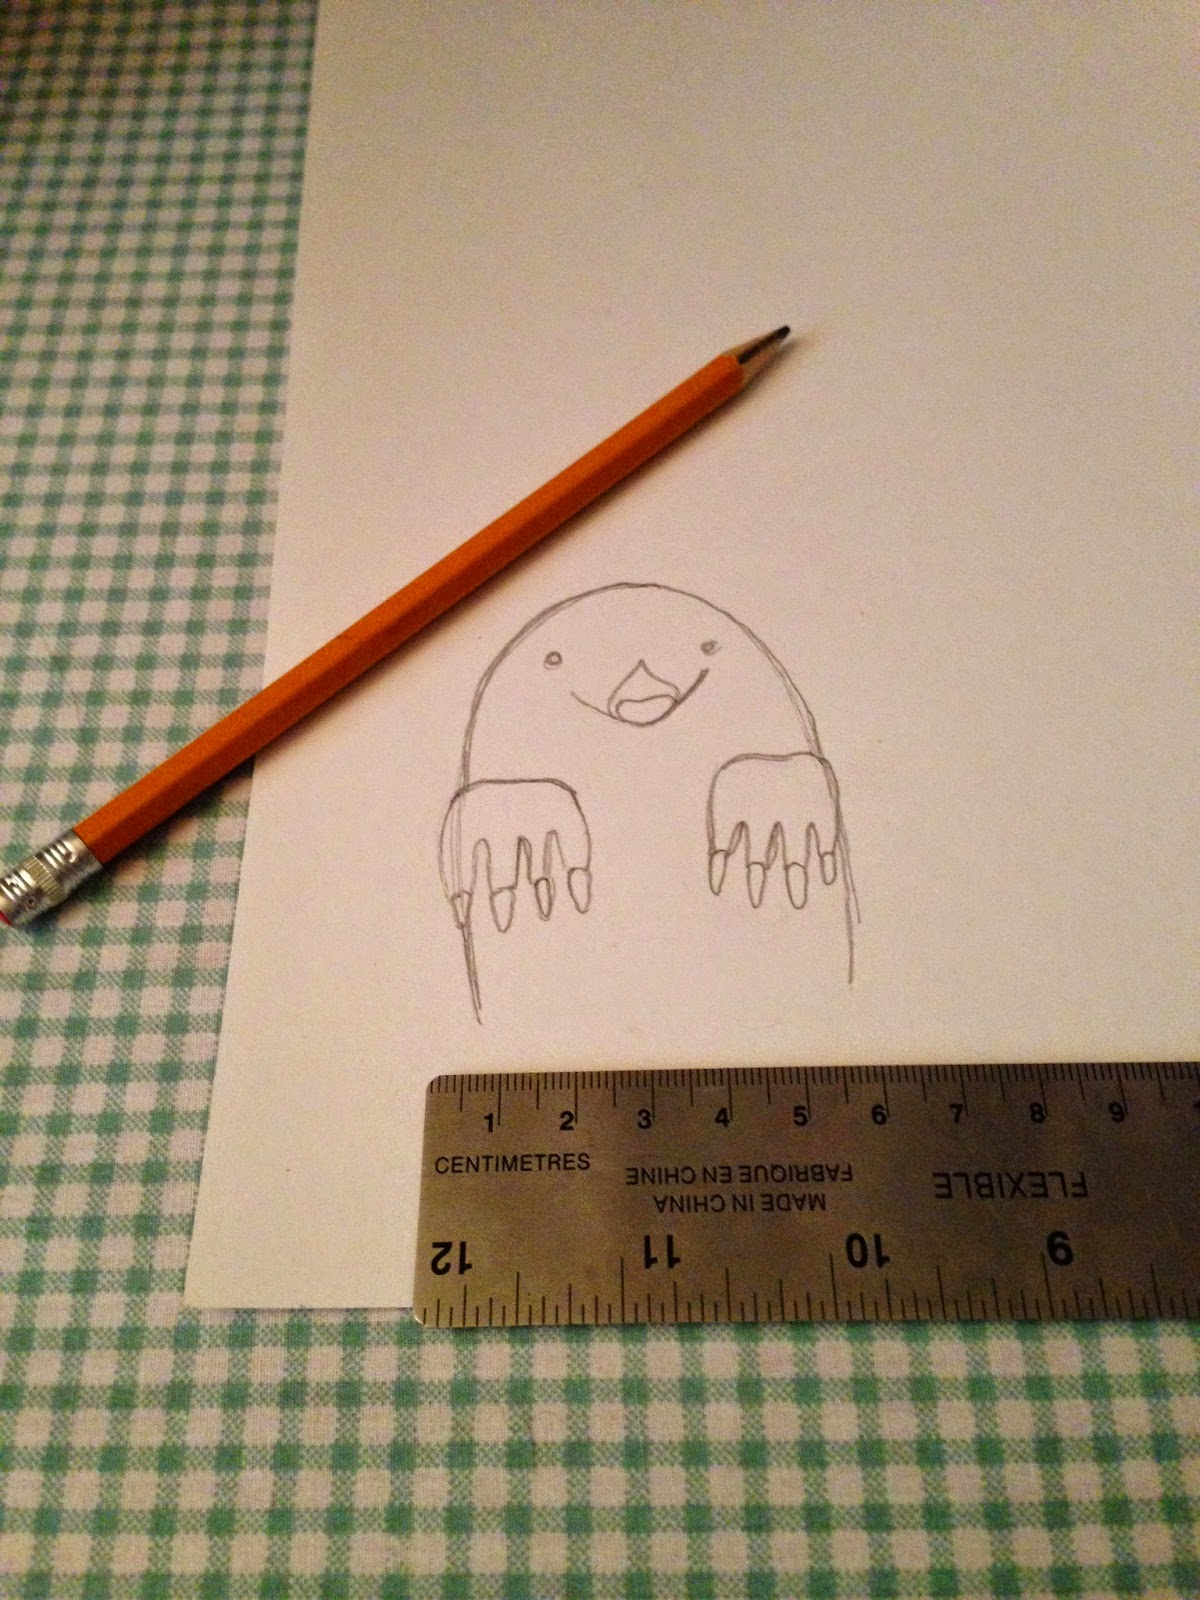
Once the body is done, it's time to finish the sheep's head. Using markers, I drew on eyes, a nose, a mouth, and some detail inside the ears- pencils, crayons or paint could also be used to make these features.

Glue more cotton balls to the back of the head and then attach it to the body by fitting it onto the toothpick.

And there you have it! A lovely, fluffy springtime sheep: