Thursday, February 26, 2015

Hattifatteners in the plants

I am a devoted fan of Tove Jansson's Moomins. I first discovered the novels about Moonintroll and his friends and family when I was young, and my for their fantastically quirky world has only grown over the years. This past Christmas, I was lucky enough to receive both the Deluxe Anniversary Edition of the Moomin comic strips and this fetching mug- my new favourite receptacle for my morning coffee.


As a tribute to some of the strangest characters in the Moomin universe, I made these Hattifatteners from craft foam attached to wooden skewers and placed them in a potted plant where they have lived happily for several years.


To me, Hattifatteners have always seemed like a cross between a ghost and a stalk of white asparagus. Their simple shape makes them an easy subject for a creative project; these young folks have chosen to make giant Hattifatteners out of snow!


If you're a Moomin fan too, why not try your hand at making your own Hattifatteners!


Tuesday, February 24, 2015

Arts and Crafts Book Review: Art Fun!

Whenever I make a trip to second hand shops, I always keep my eye out for arts and crafts books. One of my recent finds is a real gem: Art Fun! 


Put out by North Light Books in 1997, the projects contained in this book are still fresh and up to date. The projects are presented using clear and simple language with plenty of step-by-step illustrations so that a child can easily follow the instructions by themselves. Each chapter contains a variety of different projects related to a specific form of art such as drawing, painting, printmaking, and sculpture. At the start of each project, there are bold photographs showing all of the materials required so that you can make sure you've got everything on hand before you begin.


Each chapter begins with a note to parents to outlining the objectives and requirements related to that art form, as well as tips and suggestions for ways to enrich the child's creative explorations. There are clearly-marked helpful hints throughout that offer technical advice, as well as indications for when a project will need time to dry and when an adult should assist to ensure the project remains safe. One of my favourite things about this book is the simplicity of the projects. Most of them require very basic art supplies or things that that can be found around the house.


This book emphasizes creative experimentation and encourages young artists to bring their own unique ideas to their artworks. Although I believe this book is now out of print, a quick search shows that there are plenty of used copies available for sale online. Art Fun! would make a great addition to any collection of arts and crafts books; I highly recommend it!

Sunday, February 22, 2015

Cut-Out Paper Pictures


I love the different ways collage can be used to make pictures. Cutting out paper is so fun and versatile, and it's a great way to explore elements of art such as colour, pattern, texture, shape, and space.


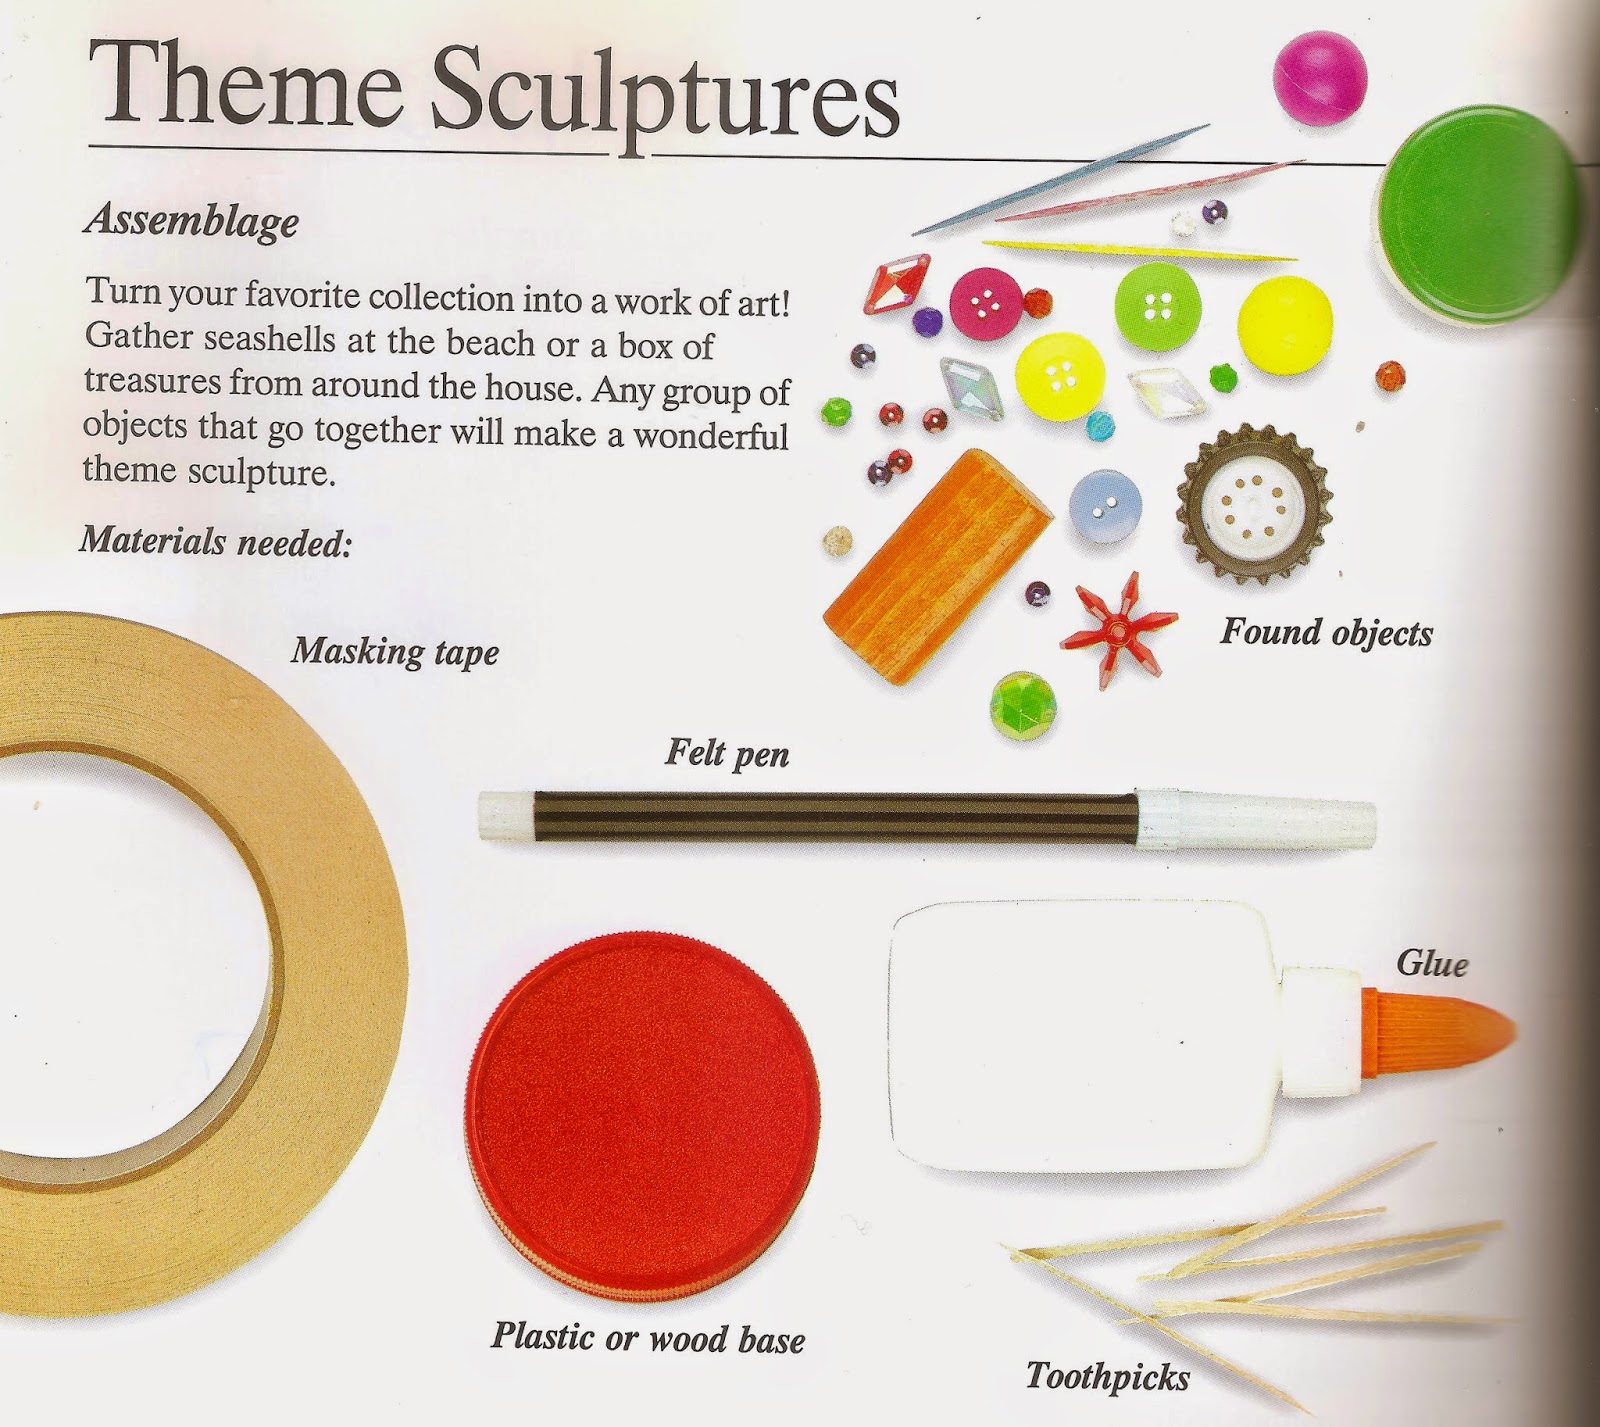
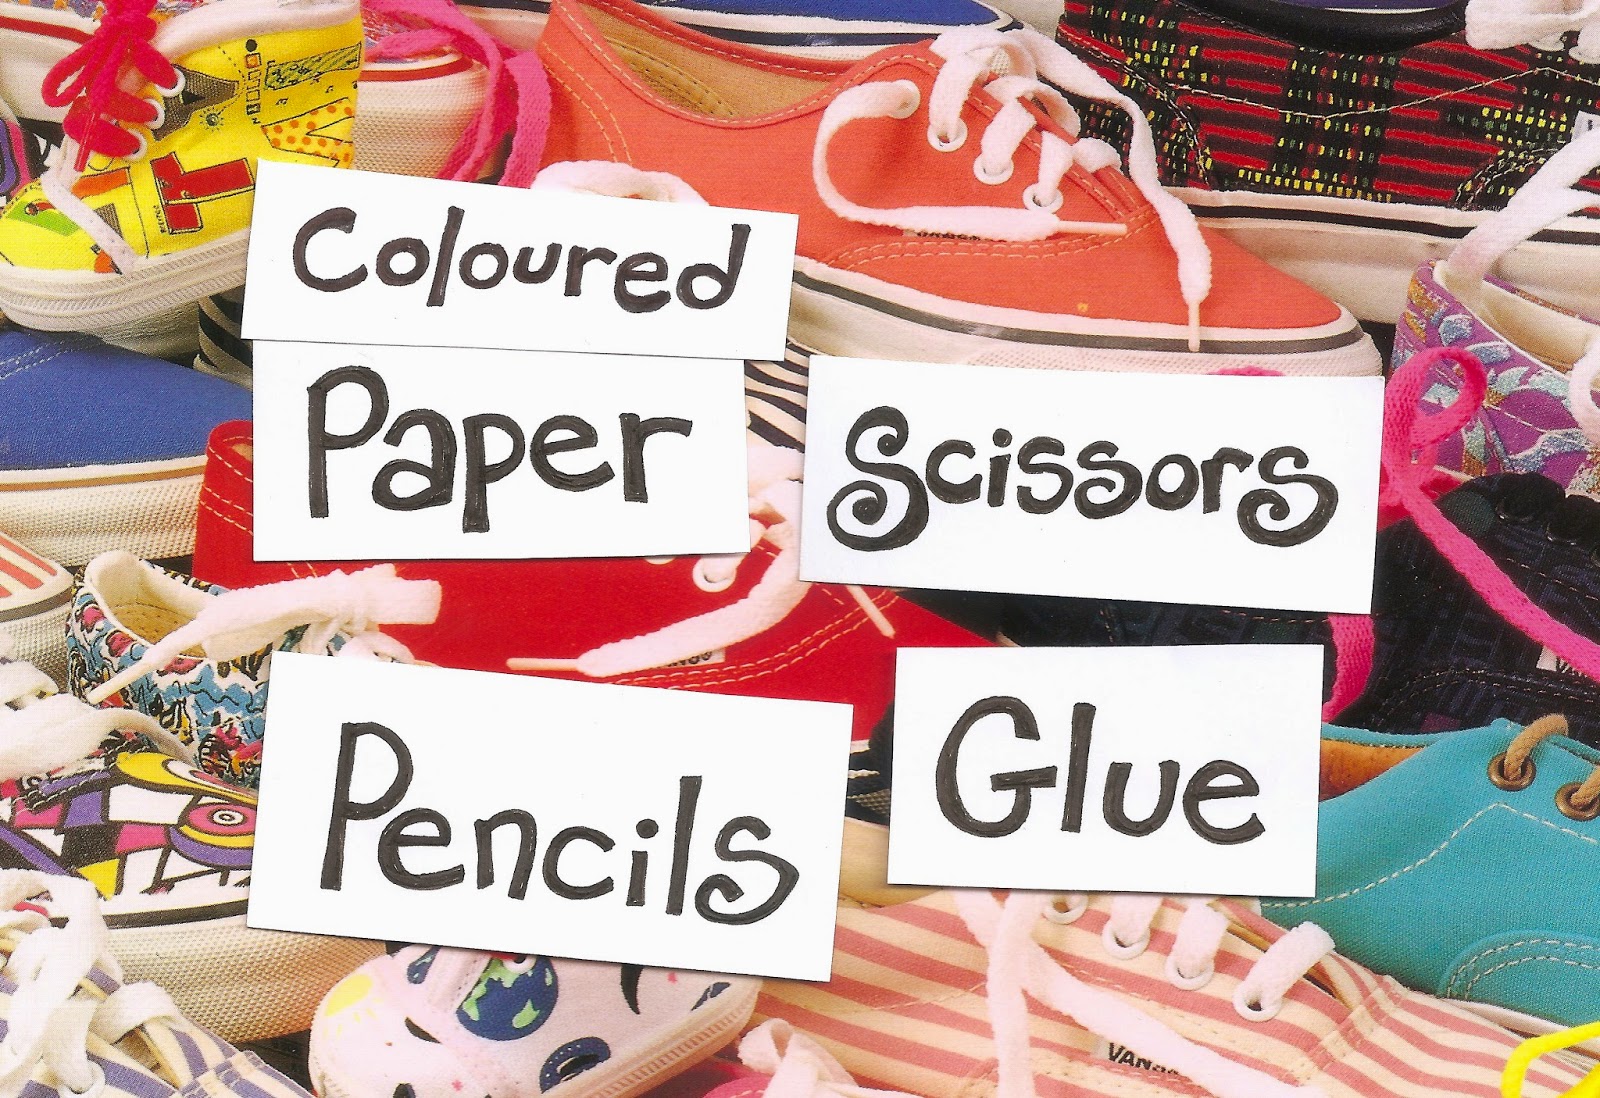
This project doesn't really call for a lot of materials. Here's what you'll need:


A good way to start this project is by doing a drawing of what your picture will look like.


Next, cut out the pieces of your drawing so that each different section is a separate piece.


Trace each piece onto the paper you'd like to use and cut it out.


Once you have all the pieces, put them together to form the picture. This part is like doing a puzzle.


When you've figured out where the pieces belong, glue them onto a background piece of paper.


Add whatever details you like from scraps of paper, or draw them on with a marker.


(Tip: I made the eyes and buttons with a hole punch, since cutting out little circles can be a bit of a challenge.)


Now your picture looks like your original drawing, but with a lot more colour and pattern!


There are lots of different kinds of paper you can use for a cut-out picture. Art stores sell many fancy papers for scrapbooking, origami, and whatnot, but there are a lot of good sources of colourful patterned papers that can be found around the house as well. Of course magazines are a constant source for collage material and it's a good idea to always have a few on hand. But this is not the only place to find cool stuff to cut up. One thing I like to do is save empty tissue boxes. I fold them flat and store them in a box so that I always have a range of different patterns on hand.

A somewhat unexpected place to find interesting patterns is on the inside of certain types of envelopes. Bills and other kids of mail that the sender wants to keep secure often come in envelopes that have a plastic window for the address and intricate repeating patterns on their insides. Before throwing out my old mail, I always check to see if there might be a pattern hiding in there that I could save and reuse.


But probably the best source for pretty paper is the wrapping from presents. It's like getting an extra craft-supply bonus with every gift!


And if you don't have the type of paper you'd like on hand, there are other ways to make your own. I covered sheets of plain white paper with crayons and paint to make these little cut-out chaps.


Henri Matisse was one of the first artists to use this technique. These works are famous for their bold colours and striking shapes. Some of Matisse's cut outs are very abstract, while others contain more recognizable images of plants, animals, or people.

The Horse, the Rider and the Clown

The Sheaf

The Snail

While making pictures with the usual gang of pencils, markers, crayons, and paint is fantastic, they're not the only tools at your disposal. Why not give scissors and glue a chance to show off what they can do?


Tuesday, February 17, 2015

Toilet Paper Roll Monsters

This project combines one of my favourite subjects with one of my favourite materials: monsters and toilet paper rolls. Monsters are fantastic because there's no wrong way to make a monster; toilet paper rolls are a great material because they're readily available and have a thousand uses. With some colourful paper and a pipe cleaner, a boring old cardboard roll can easily be transformed into a goofy little monster.


Here's what you'll need for this project:


First, choose a colour of paper for the body of the monster. Measure the length of the tube and cut the paper to fit.


Glue the paper to the roll and cut two slits about half an inch long in either side of the top of the roll. About half an inch below each slit, pierce a small hole- this is where the pipe cleaner arms will fit through.


Take the bristol board and cut out the shape of the head. This can be any shape you like, but must be slightly larger than the diameter of the tube.


Trace the circumference of the tube onto some bristol board for the feet, making sure that this bottom piece is slightly larger than the tube so that they can easily be glued together. Again, these an be any shape you like.


Next come the hands. Once you've cut them out, they need a hole punched in them so that they can be attached to the pipe cleaners.


Cut a standard length of pipe cleaner in half. Take one of these pieces and wrap it around the hole made in one of the hands. Feed the other end of the pipe cleaner through the holes in the tube and wrap it around the other hand.


Spread a thin line of glue around the base of the tube and stick it onto the feet.


While you're waiting for the glue to dry, it's time to decorate the monster's face. I cut shapes out of different colours of paper, but you could also use markers, pencils, or crayons to draw on the facial features if you prefer. Remember, a monster can have any kind of face you like!


You can also decorate the body- I gave this fellow a random sprinkling of blue polka dots.


You could give your monster other details as well. I added a tail by cutting a long triangular piece out of the bristol board and sliding it into a slit made in the back of the tube. 


Attach the head by slotting it into the two slits at the top of the tube. And voila! A funny, freaky little tube monster!


These were so much fun, I couldn't help making a whole gang of monster friends.


If you need a little monster-inspiration, why not take a look at the creations of Maurice Sendak, Jim Henson, and Mercer Mayer, three geniuses in the world of monstrous make-believe: